
Most CNC machined parts deburring projects do not fail at the machine. They fail because the burr was never specified well enough to choose the right media, speed, and cycle time. I have watched shops buy a vibratory bowl, load mixed milled and turned parts, and then spend more on hand blending than the machine saved. The better starting point is a small process test that defines what the edge must look like, what the part can tolerate, and how the load will be separated afterward. Put that in place first and the equipment decision becomes much simpler.
Why CNC Machined Parts Deburring Belongs in Process Planning
Burr formation is not random. CNC mills and lathes leave predictable burr patterns depending on tool path, breakout direction, cutter wear, and material. When those patterns are mapped before finishing, a shop can choose a deburring route that removes the real burr instead of polishing around it. When they are ignored, the shop inherits the classic result: edges softened in the open areas, sharp corners still present near bores, and dimensional variation across the batch.
Our process work usually begins with the part print and a small batch of real parts rather than a generic machine specification. A 0.003 inch feather edge on 6061 aluminum behaves differently from the same visual height on 17-4 stainless. The first comes off quickly with plastic media; the second may need ceramic or a harder cutting action. That difference is why CNC machined parts deburring belongs in process planning instead of downstream sorting.
A useful check is to mark the burr location on the print before any finishing test. If the burr sits inside a bore, on a thread flank, or at a pocket intersection, the route must reach that feature. If the burr is only on open edges, a simpler and cheaper process will work. This small step prevents the most common failure we see: specifying a machine by part weight and then discovering the media cannot touch the area that actually matters.
How Burr Type, Material, and Geometry Set the Deburring Route
Burr Formation Changes by Material
Aluminum burrs are usually ductile and fold over instead of breaking off. A light cutting action with plastic media or fine ceramic works well, especially when the part has thin walls. Steel burrs are stiffer and often need a more aggressive ceramic shape, but that aggressiveness can erode sharp edges or threads if the cycle is not restrained. Titanium is another case: the material work-hardens at the surface, so an overaggressive process can smear metal and leave a bright but flawed edge. We prefer to test the actual part, because the material certificate will not predict how the burr root behaves.
Geometry Decides What the Media Can Reach
Blind holes, internal intersections, and deep grooves trap media. If the burr is inside a 2 mm bore, a 4 mm cone cannot get there. In that situation the correct route may be magnetic finishing with small stainless pins, or a drag process if the part can be fixtured. When the part has open edges and a flat face, vibratory finishing is faster and lower cost. The mistake is forcing one machine to cover every feature and then accepting inconsistent results.
When blind features are the problem, <Do You Understand Centrifugal Barrel Finishing Machine> explains how higher energy moves media into areas that a standard bowl misses.
Matching CNC Machined Parts Deburring Equipment to Your Part Mix
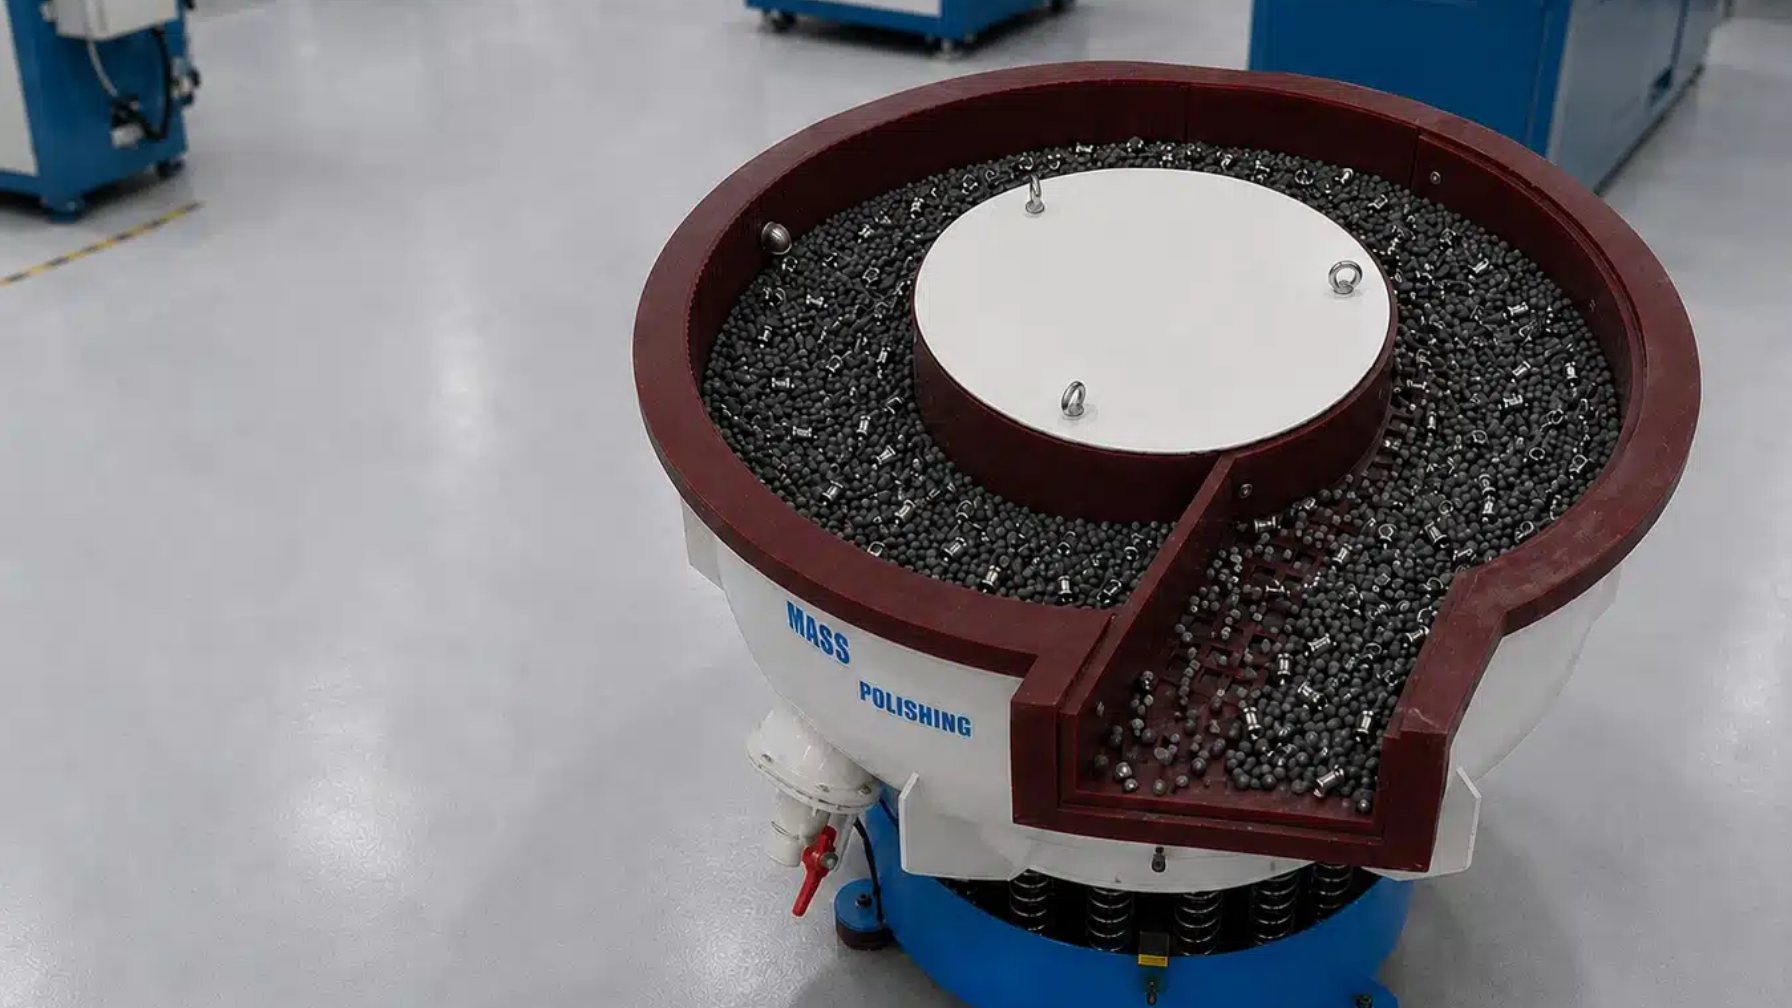
No single deburring method fits every CNC part. The choice should be made by the weakest feature on the part, not the average. For a shop running open aluminum housings, a straight wall vibratory machine with an automatic separation system is usually the lowest labor route. For small valve bodies, medical components, or parts with tight edge radius control, a high energy centrifugal disc or barrel machine becomes more suitable. The decision is not simply equipment price; it is the cost of rework, inspection, and handling across a monthly volume.
| Method | Strongest Fit | Typical Burr Condition | Process Watch Point |
|---|---|---|---|
| Vibratory bowl | High volume open edges | Light to medium burrs | Part-on-part impingement on delicate faces |
| Centrifugal disc | Mixed geometry, faster cycle | Medium to heavy burrs | Aggressive action can round more than intended |
| Centrifugal barrel | Precision edges and small parts | Controlled edge radius | Limited batch size and longer load and unload time |
| Drag finishing | Clamped parts with tight tolerances | Light burrs and surface refinement | Fixture cost per part number |
Each method changes more than the burr. Vibratory finishing is gentle enough for high volume but can round sharp edges if the cycle is too long. Centrifugal disc finishing generates far more force, so it cuts faster but can change tight dimensions. A part with a threaded hole may require masking, or a cycle short enough to protect the thread while still removing the edge. That is why the equipment decision must follow a tested recipe.
For shops planning a vibratory route, <Using a Vibratory Polishing Machine> covers how bowl speed, water flow, and media level interact in production.
If your program involves tapped holes below M3, blind slots, or anodized surfaces, it is worth confirming media shape, media size, and compound pH before finalizing the line. Reach out at [email protected] and include a part drawing; the process variables matter more than machine brand.
Building a Repeatable CNC Deburring Process Before You Invest
The most reliable way to avoid buying the wrong deburring equipment is to run a small controlled sample before the purchase order. I have watched too many shops skip this step, then spend months adjusting a machine that was sized for the wrong burr. A short trial exposes the two things that matter: whether the media reaches the burr, and whether the process changes dimensions.
- Define the unacceptable burr and the acceptable edge radius. Use a print callout or a comparison coupon, not a photo alone.
- Load a measured mix of parts, media, and compound at the planned ratio. Run one cycle and inspect bores, threads, and sealing faces, not just the visible edges.
- Separate parts from media and check for lodged chips, stained surfaces, and handling damage. If separation takes longer than finishing, the route is wrong.
- Run three consecutive lots and record cycle time, surface roughness, and dimensional change. Only then commit to the machine size and automation level.
Compound control gets less attention than it should. A general purpose compound may clean well but does nothing to help an aggressive ceramic cut. The wrong pH or concentration can stain aluminum or leave a film that affects anodizing. We pair the compound with the media and the material rather than using one drum for everything. The sample run should therefore include the exact compound concentration that production will use, not a convenient approximation.
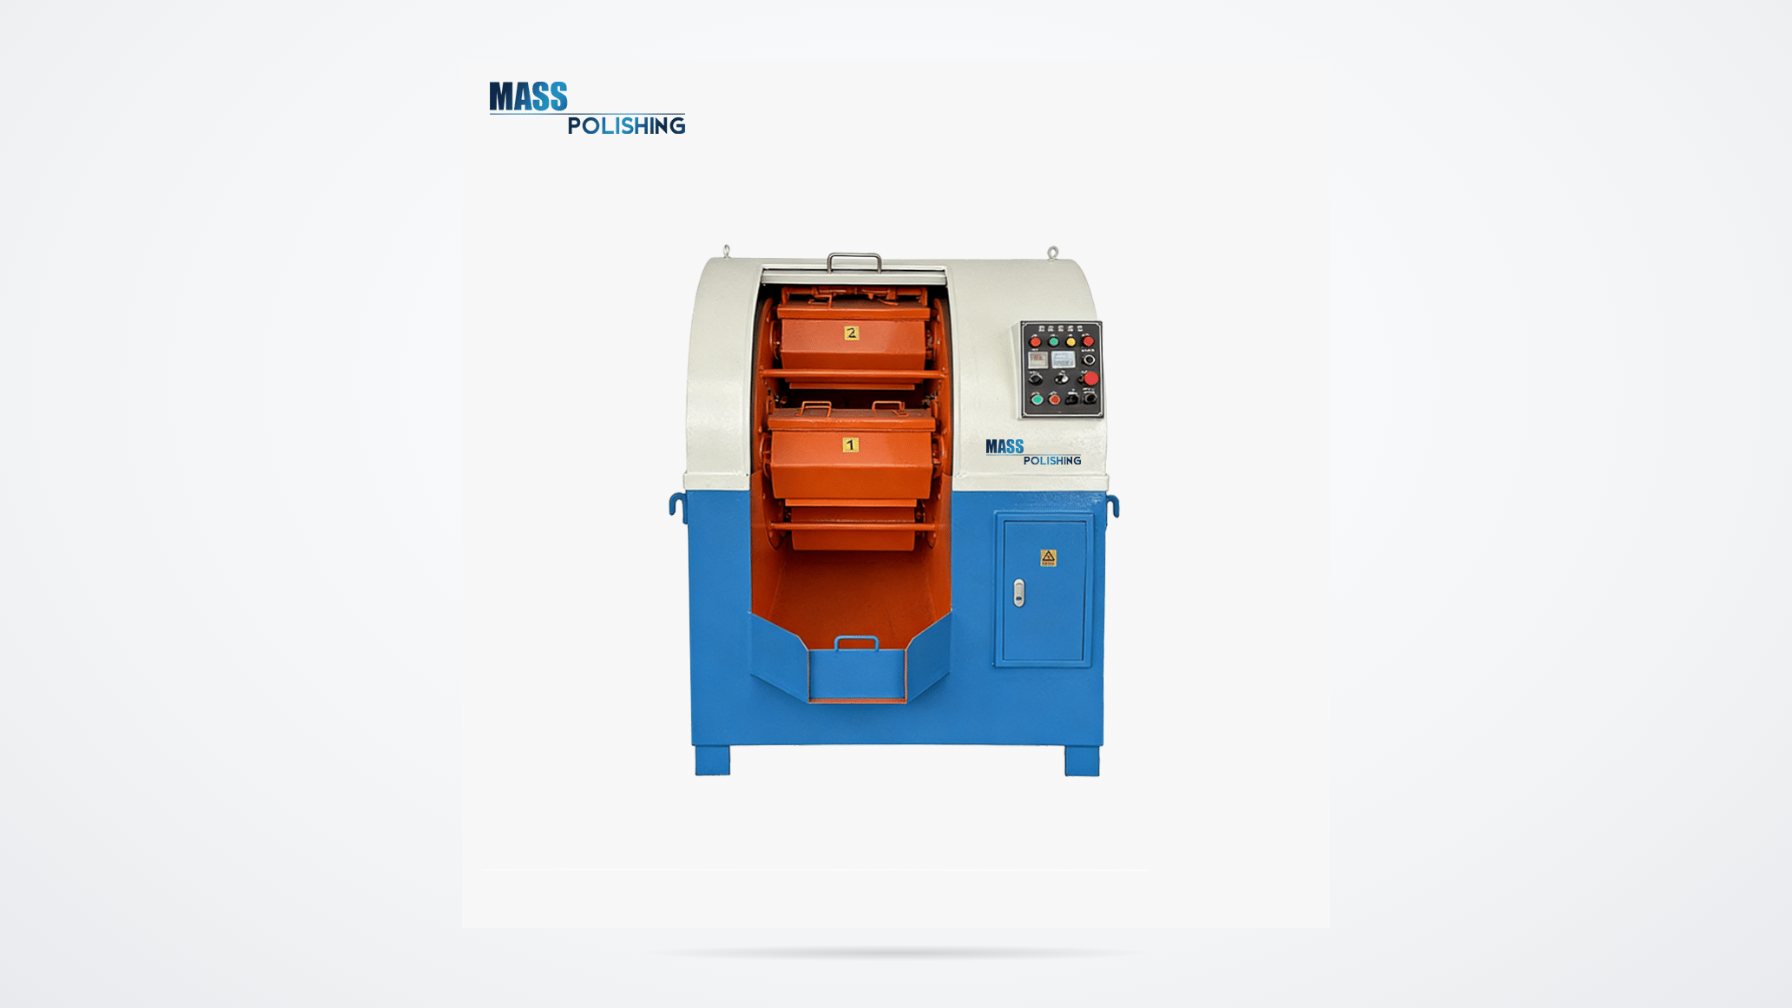
When the route involves centrifugal equipment, <Troubleshooting of Centrifugal Drum Finishing Machines> covers rollover burrs, slow cutting, and uneven radius in more detail.
Specifying Your CNC Deburring Line Without Leaving Gaps
If hand deburring is still the bottleneck in your CNC cell, the gap is usually process definition, not operator skill. We have built part-specific routes where the machine removes the bulk burr, the media reaches the intersections that create most inspection failures, and separation becomes part of the cycle instead of an afterthought. Before you commit to equipment, send your part number, material, monthly quantity, and tolerance callouts to [email protected] or call +86 572 308 8888 and ask for a sample deburring test. That gives you a cycle time, a surface sample, and a clear equipment recommendation.
Common CNC Deburring Questions from Machining Shops
Can one machine handle both aluminum and stainless CNC parts?
Yes, but only if the media and compound are changed between materials or the load is grouped by material. Aluminum needs a lighter cutting action and a compound that will not stain the surface. Stainless can take a more aggressive ceramic cut, but the same cycle can damage aluminum threads or thin walls. If mixed loads are unavoidable, choose a conservative route and accept a longer cycle rather than risking dimensional loss.
Does a bright surface mean the deburring job is finished?
Many shops assume brightness means the deburring work is done. It is not. Brightness comes from fine media or burnishing, while deburring removes a raised edge. A part can look polished and still carry a folded burr inside a bore. The first inspection point should be the burr location, not overall gloss. Once the edge is confirmed, polishing can be added as a separate step or blended into a second cycle.
Which method is better for CNC parts, vibratory or centrifugal?
It depends on what you are trying to protect. A vibratory bowl is usually better for high volume parts with open edges. A centrifugal disc or barrel is better when the part has internal passages, blind holes, or a tight edge radius requirement. For long, delicate, or very precise parts, drag finishing or magnetic finishing prevents part-on-part contact. The method follows the part’s weakest feature, not its total weight.
What should a first deburring test include?
In sample runs I have worked on, the most useful early test is not a full production cycle. It is a short trial with the actual part, two or three media options, and a measured edge zone. That quickly shows whether the media reaches the feature, how much radius develops, and whether chips lodge where they should not. It saves weeks of trial work later. Share your print, material, and monthly volume with [email protected] and we will confirm the deburring route and a practical cycle time.
If you’re interested, check out these related articles:
Vibratory Tumbler for Purchase
Operation Mode of Drum Grinder