
Silver tarnish is not a polishing failure. It is the visible result of sulfur compounds reacting with the silver surface, and it begins again whenever the metal is exposed to air, handling, or packaging that carries those compounds. Silver jewelry polishing removes existing sulfide film and levels the surface, but a bright finish only stays bright when the polishing process closes scratches and the after-treatment slows new sulfide formation. For that reason, we treat anti tarnish protection as a process chain rather than a final dip, and we evaluate every polishing step by how clean and closed it leaves the silver.
Silver Tarnishes Because Sulfur Compounds React with the Surface
Silver does not rust, but it reacts readily with sulfur. The dark film on silver jewelry is silver sulfide, formed when sulfur compounds in sweat, rubber bands, wool, newspaper, cardboard, or polluted air contact the metal. Moisture speeds the reaction. A rougher surface makes the problem worse because it carries more exposed area, holds moisture and sulfur particles, and gives sulfide film a place to anchor. That is why a fine polish is not cosmetic; it reduces the surface area and leaves fewer micro-crevices where tarnish nucleation can start. We see this consistently with sterling silver findings. A chain that has been polished to a closed, reflective surface will stay visually acceptable far longer than the same alloy with a matte or scratched finish, even before any anti tarnish chemical is applied.
Polishing removes existing tarnish, but it also creates reactive material. Fine silver and sterling alloys are soft, so aggressive cutting media can fold the surface rather than cut it cleanly, embedding abrasive or compound residues. That embedded residue later becomes a tarnish trigger. This is why silver finishing needs a sequence: remove the old sulfide film, refine the surface with progressively gentler media, rinse out residues, and dry before applying a protective film.
Anti Tarnish Surface Treatment Depends on a Clean, Closed Surface
Anti tarnish treatments are not simply applied to a polished surface. A chemical dip, clear coating, or protective plate will only perform as well as the surface under it. If the polishing compound is not rinsed from recessed areas, or if the surface still carries fine residual abrasive, the treatment film forms unevenly and tarnish can begin underneath the coating. In our process development work, we have seen anti tarnish film failures traced back to rinse water, not to the treatment chemistry. A few seconds of extra rinsing and a controlled dry often improve tarnish resistance more than increasing the concentration of the anti tarnish bath.
Silver jewelry manufacturers usually choose among organic tarnish inhibitor dips, clear lacquer or e-coat films, and metal overlays such as rhodium. Each has a different trade-off. Dips are fast and low cost but limited in durability. Clear films protect longer but may change the look and can wear unevenly on high-contact areas. Plating offers durability and color stability but adds cost and changes the metal surface. The final choice depends on whether the piece contacts skin daily, whether gemstones are present, and what the retail market expects.
Compound choice changes the residue left on the silver surface and therefore the adhesion of any after-treatment. <Choosing the Right Vibratory Finishing Compound for Your Application> covers how pH and rinsing behavior of a compound affect the final surface before plating or coating.
Batch Finishing Methods for Silver Jewelry Protect Detail and Throughput
Silver is softer than stainless steel and far more sensitive to part-on-part contact. The batch finishing method has to protect fine prongs, hollow links, chain ends, and polished stone settings while still delivering uniformity. There is no single machine for every silver product, and we choose based on geometry, batch size, and how much water can remain before anti tarnish treatment. The table below is the same logic we apply when a customer sends a mixed jewelry program.
| Finishing method | Best use for silver jewelry | Tarnish control impact |
|---|---|---|
| Vibratory bowl with fine porcelain or plastic media | Rings, pendants, medium-size chains | Levels fine scratches; needs thorough rinse to remove compound |
| High precision centrifugal disc finishing | Filigree, settings, complex geometry | Reaches fine detail with controlled gap; fixtures prevent part damage |
| Dry centrifugal barrel finishing | Pieces that cannot retain moisture before anti tarnish | Leaves a dry surface and avoids water spotting |
| Magnetic pin finishing | Chain links, undercuts, small recesses | Removes tarnish in recesses; pin separation and rinse determine the result |
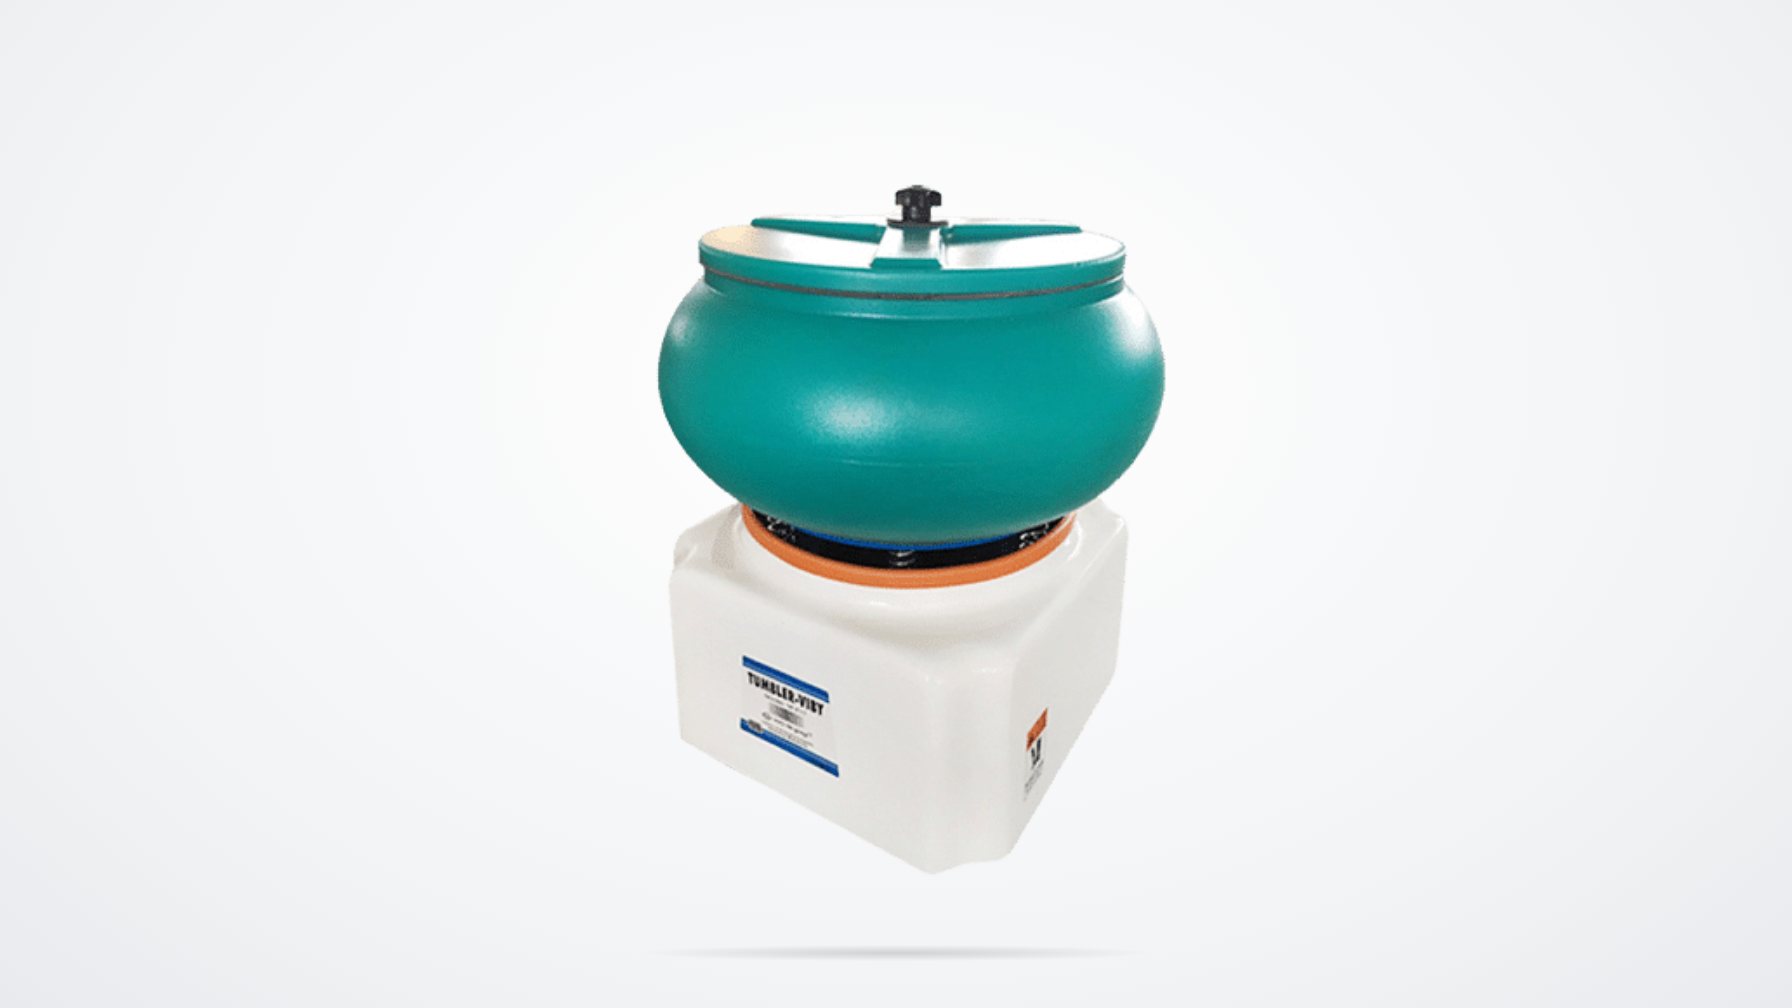
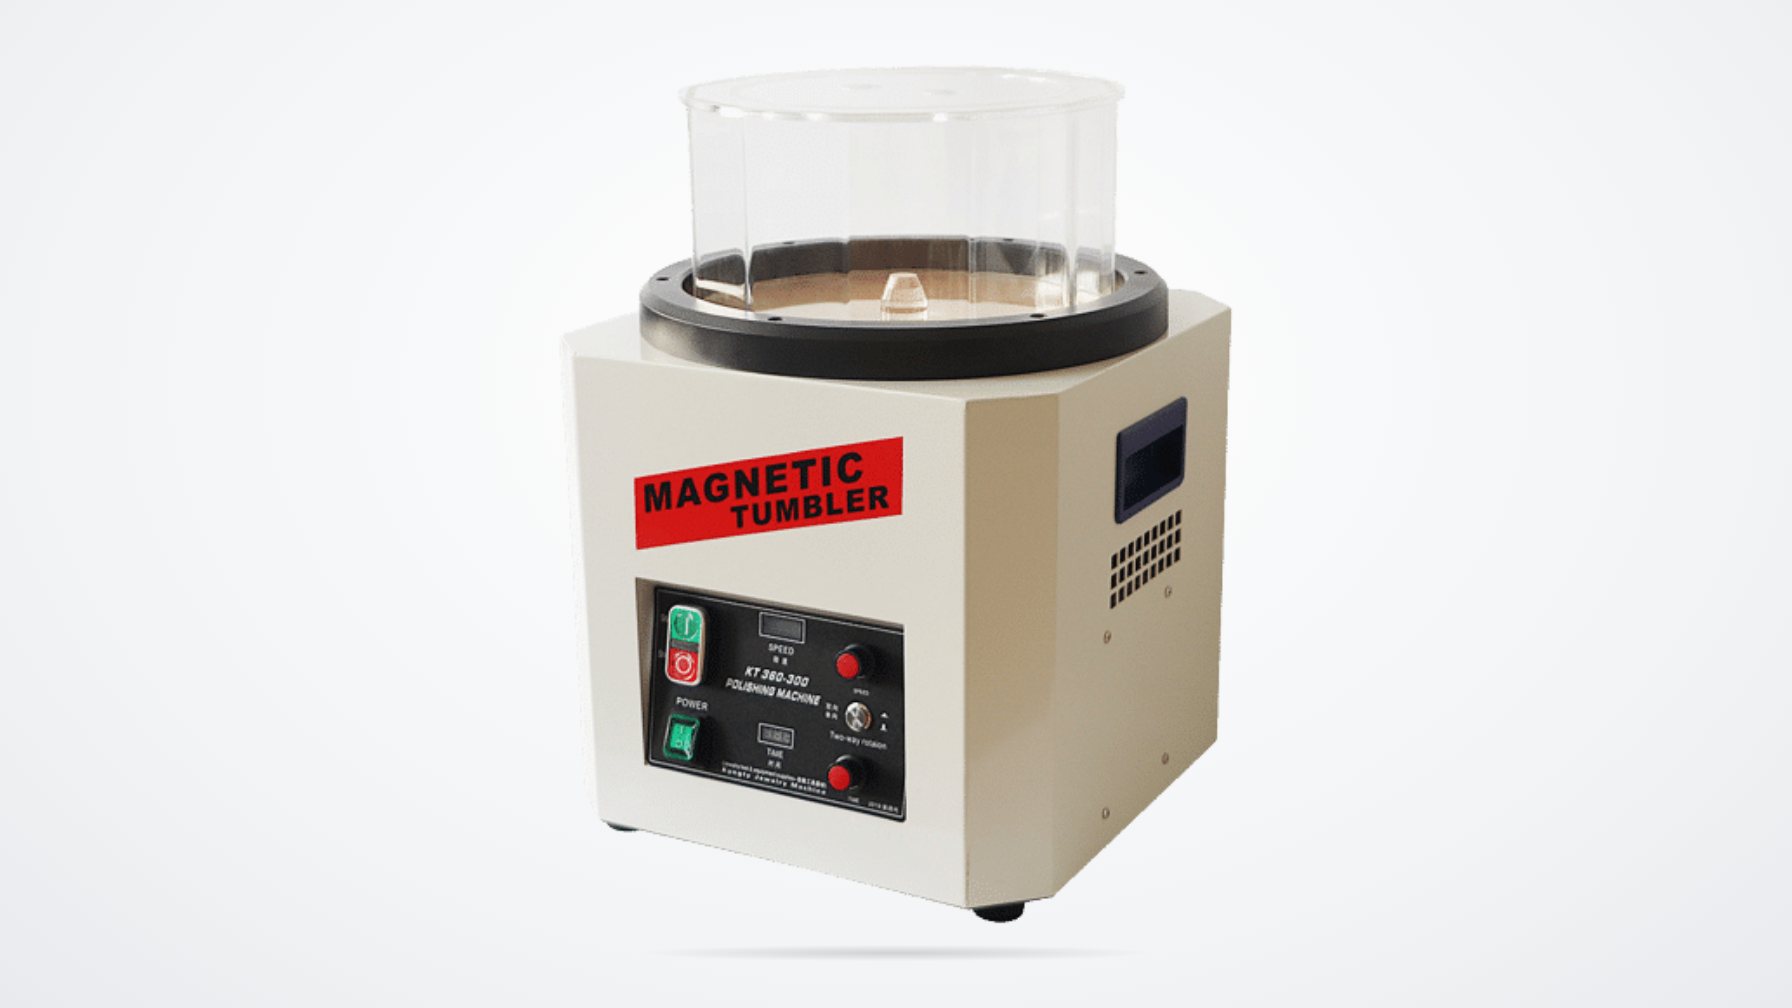
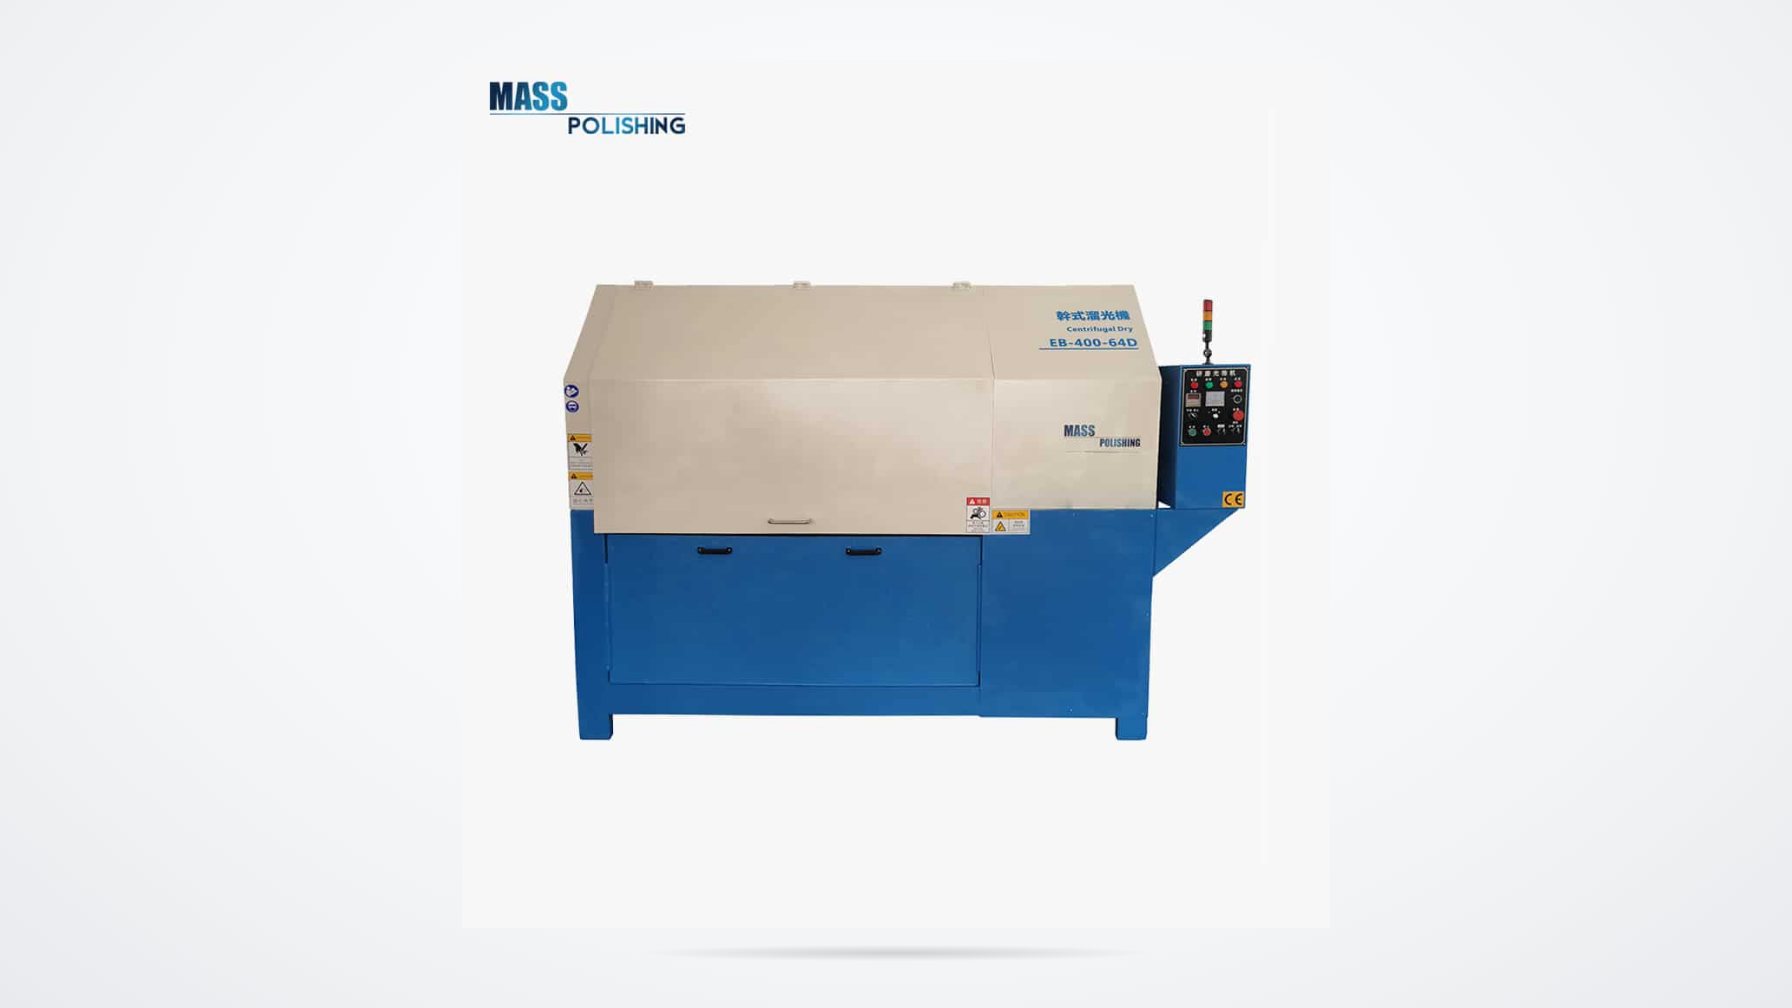
Vibratory bowls remain the most flexible starting point for silver rings and pendants, because the same machine can run cut, polish, and burnish steps with different media. For hollow links or pieces that trap water, we move toward dry processes. Dry centrifugal barrel finishing removes the water variable entirely, which matters when parts go directly into an anti tarnish dip. Magnetic pin finishing handles the inside of chain links and fine recesses that bowl media cannot reach, but it adds a pin removal step and requires a final rinse with greater care.
If your silver program mixes chains, hollow findings, and stone set pieces, the correct method may not be a single machine. It is worth confirming media size, gap settings, and cycle aggressiveness before you lock a bill of materials. Share photos and part dimensions with [email protected] and we will recommend a sequence and run a sample batch.
The Process Sequence Determines Tarnish Resistance More Than Any Single Step
From our sample processing records, the sequence below consistently produces a more stable silver surface than running a longer polish cycle.
- Sort the batch by alloy, geometry, and stone setting risk. Sterling pieces with soldered findings and delicate chains should not run with heavier cast rings unless fixtures or chamber dividers keep them apart.
- Remove old tarnish and fire scale with a light cut using fine porcelain or plastic media. Use a low-residue compound and keep water flow steady.
- Switch to a dedicated silver polishing media for the final brightening step. This prevents coarse abrasive particles from contaminating the finish.
- Rinse in clean water until the surface sheets; a final demineralized rinse reduces spotting.
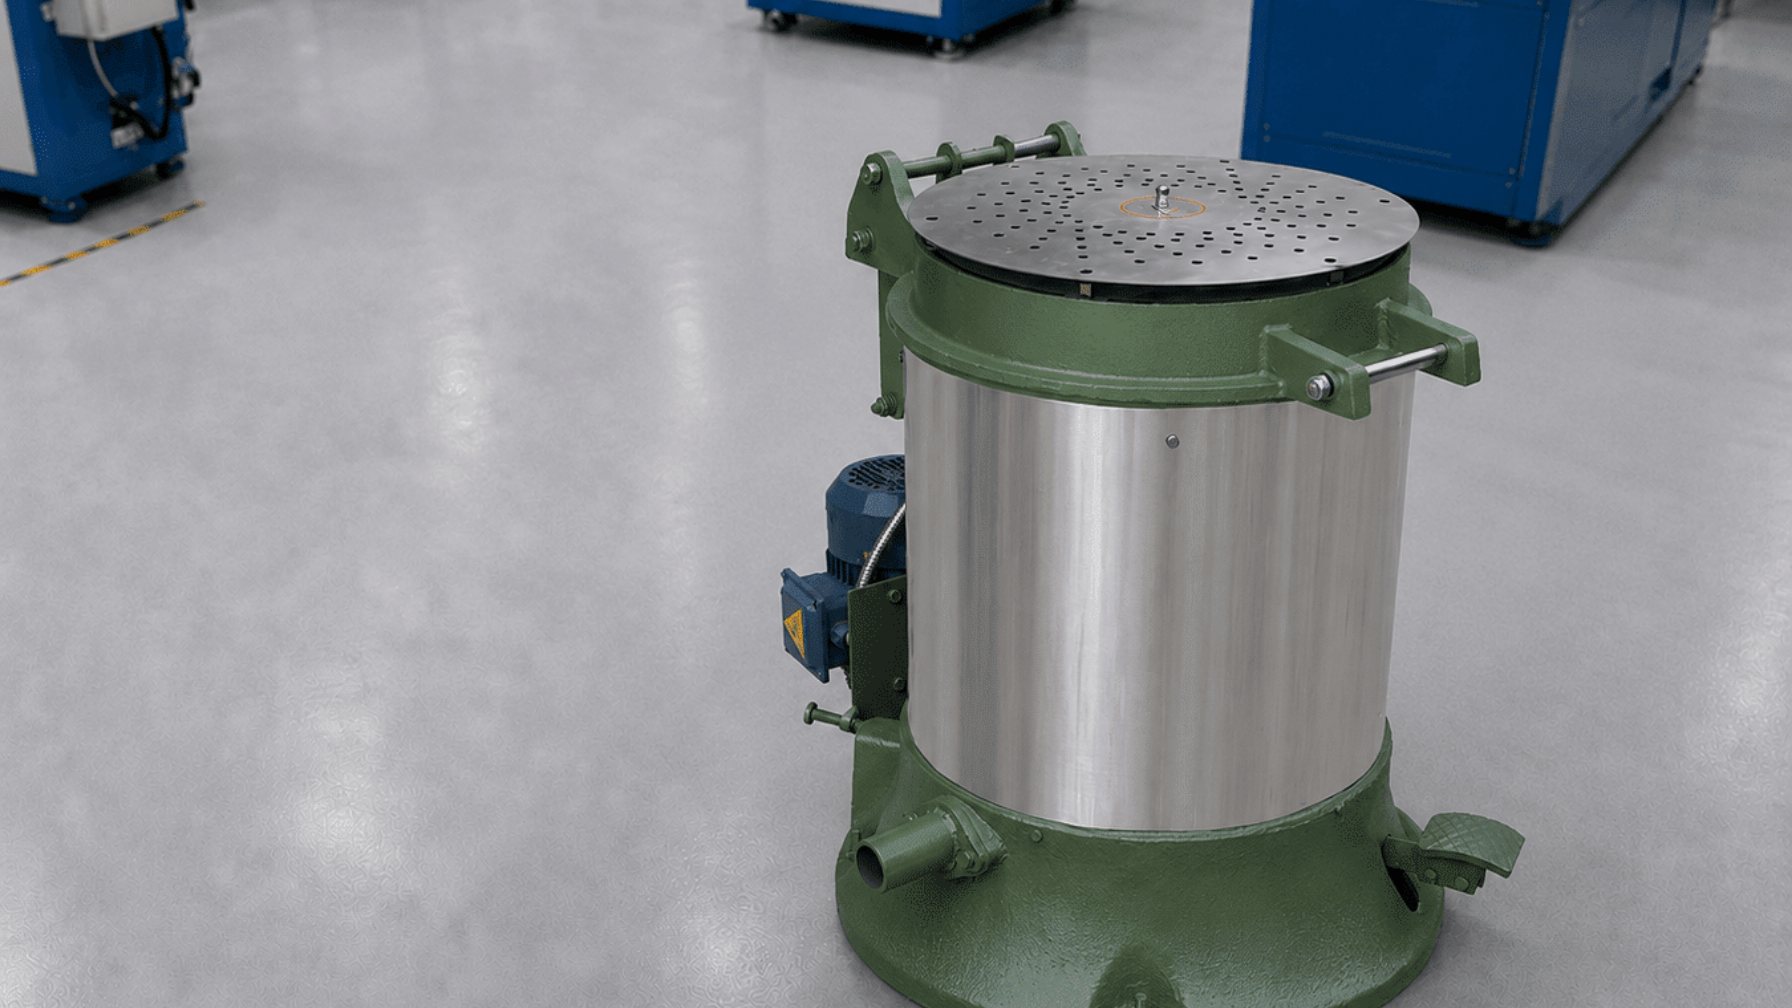
- Dry at low to medium temperature. A centrifugal dryer at 50 to 70 degrees Celsius removes water from recesses without overheating soldered joints.
- Apply the anti tarnish treatment immediately after drying. Long open air storage between drying and treatment gives sulfur a fresh surface to attack.
- Inspect under magnification and package with anti tarnish paper or bags, not ordinary cardboard in direct contact.
Nonferrous metals such as copper and brass share the same sensitivity to overcutting before a final bright step. <Polishing Copper and Brass Parts with Ease a Step By Step Guide to Vibratory Finishing> shows why reducing cut aggressiveness in the final stage keeps a bright surface from turning matte.
Confirming Your Anti Tarnish Silver Finishing Process before Production
Tarnish resistance cannot be judged on the polishing wheel alone. A piece may look bright at final inspection and still fail after three weeks in retail packaging, especially if the alloy contains copper, the surface carries a hidden compound film, or the customer wears the piece daily. That is why we always tie anti tarnish performance to a defined process rather than a single chemical product.
If you are expanding a silver jewelry line, send us the part number, alloy grade or sterling specification, gemstone and solder details, and monthly batch size. We will recommend the appropriate finishing method, media shape and size, compound, rinse and dry sequence, and anti tarnish route for your market. Email the details to [email protected] or call/WhatsApp +86 572 397 2988. Ask for a sample run on your actual pieces, and we will return the processed samples with process parameters before you commit to equipment.
Buyers Ask These Questions Before Committing to Anti Tarnish Silver Finishing
Does silver jewelry polishing stop tarnish from returning?
No. Polishing removes existing silver sulfide and smooths the surface, but it does not change the metal’s tendency to react with sulfur. A smoother surface tarnishes more slowly because it has less area and fewer anchoring points, but only a post-polish treatment or coating slows the reaction substantially. We tell customers to treat polishing as preparation and anti tarnish as the protective step.
Can anti tarnish treatment be applied to silver jewelry with gemstones?
It depends on the stone, the setting, and the treatment chemistry. Hard stones such as diamond, sapphire, and ruby generally tolerate short immersion treatments. Porous stones, pearls, opals, and dyed stones may not, and organic materials can absorb chemicals. If stones are present, the safer route is masking or selective application, or choosing a dry protective film that does not contact the setting. We ask for stone details before recommending any after-treatment.
Are dry finishing methods better than wet finishing for anti tarnish results?
The common assumption that dry finishing is always safer for tarnish control is only partly true. Dry processes avoid water spotting and reduce the chance of trapped moisture in hollow pieces, which is useful before anti tarnish treatment. But dry media can leave fine dust that must be removed, and some dry compounds add their own residue. The better question is which process leaves the fewest residues and the lowest surface moisture. We match the process to the piece rather than treating dry as an automatic upgrade.
How soon after polishing should anti tarnish treatment be applied?
In our production samples, silver that sits overnight after drying shows more early tarnish than pieces treated within the same shift. We prefer to move parts from dry to anti tarnish within minutes, not hours. If staging is required, closed containers with anti tarnish paper keep sulfur exposure low. The sequence matters because a fresh polished surface has little oxide or sulfide but is highly receptive to whatever it contacts. Share your part flow and staining photos with [email protected] and we will identify where the tarnish window is being lost.
If you’re interested, check out these related articles:
Polishing Inconel Parts Tips and Techniques
How Can Increase the Life of the Vibrating Grinder
Stainless Steel Walnut Zirconic Finishing Media
What Abrasives Are Generally Used in Vibrating Grinders